Introduction to Commento
Commento is an open-source, lightweight, and privacy-focused commenting system that you can self-host.
Unlike traditional commenting systems, Commento doesn’t track your users, respects their privacy, and is fully compliant with GDPR and other privacy regulations.
Why Choose Commento?
- Privacy-focused: No tracking, no ads, no analytics
- Lightweight: Fast-loading with minimal JavaScript
- Open Source: Full control over your data, with MIT license
- Markdown Support: Format your comments easily
- Email Notifications: Get notified of new comments
- Moderation Tools: Full control over comments
And…anonymous comments!

Prerequisites
Before we begin, make sure you have the following:
- A server with Docker and Docker Compose installed
- A domain name pointing to your server (recommended)
- Basic knowledge of Docker and the command line
Installation with Docker Compose
- First, create a new directory for your Commento setup:
mkdir commento && cd commento
- Create a
docker-compose.ymlfile with the following content:
version: '3'

services:
  commento:
    image: registry.gitlab.com/commento/commento
    container_name: commento
    restart: always
    environment:
      - COMMENTO_ORIGIN=https://yourdomain.com
      - COMMENTO_PORT=8080
      - COMMENTO_POSTGRES=postgres://commento:yourpassword@postgres:5432/commento?sslmode=disable
      - COMMENTO_GZIP_STATIC=true
    depends_on:
      - postgres
    ports:
      - "8080:8080"

  postgres:
    image: postgres:13-alpine
    container_name: commento_postgres
    restart: always
    environment:
      - POSTGRES_USER=commento
      - POSTGRES_PASSWORD=yourpassword
      - POSTGRES_DB=commento
    volumes:
      - postgres_data:/var/lib/postgresql/data

volumes:
  postgres_data:
-
Replace the following values in the
docker-compose.yml:yourdomain.comwith your actual domainyourpasswordwith a strong password
-
Start the containers:
docker-compose up -d
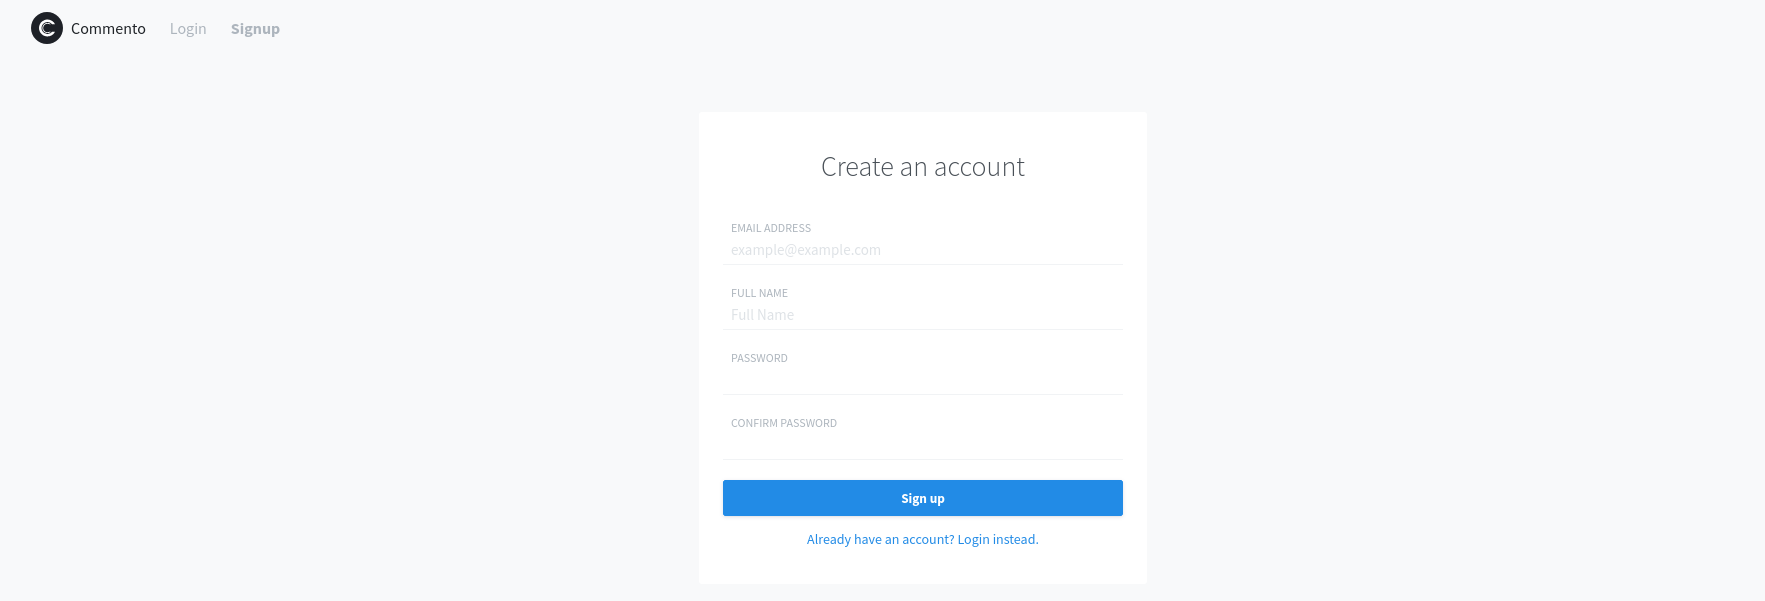
You will be able to creat the Commento admin account:
Configuration
Environment Variables
Here are some important environment variables you can configure:
COMMENTO_ORIGIN: Your site’s URL (required)COMMENTO_PORT: Port to run Commento on (default: 8080)COMMENTO_POSTGRES: PostgreSQL connection stringCOMMENTO_GZIP_STATIC: Enable GZIP compression (true/false)COMMENTO_FORBID_NEW_OWNERS: Prevent new owner registrations (true/false)
Nginx Reverse Proxy (Recommended)
For production use, it’s recommended to set up Nginx as a reverse proxy with SSL.
Here’s a basic configuration:
server {
    listen 80;
    server_name yourdomain.com;
    return 301 https://$host$request_uri;
}

server {
    listen 443 ssl http2;
    server_name yourdomain.com;

    ssl_certificate /path/to/your/cert.pem;
    ssl_certificate_key /path/to/your/privkey.pem;

    location / {
        proxy_pass http://localhost:8080;
        proxy_http_version 1.1;
        proxy_set_header Upgrade $http_upgrade;
        proxy_set_header Connection 'upgrade';
        proxy_set_header Host $host;
        proxy_cache_bypass $http_upgrade;
    }
}
Commento with Cloudflare Tunnels
If you have already your domain, you can use Cloudflare Tunnels to expose your Commento instance to the internet.
You will just need to follow this guide with your domain and have the following commento config:
services:
  commento: #https://github.com/adtac/commento
    image: registry.gitlab.com/commento/commento
    container_name: commento
    restart: unless-stopped
    environment: #https://docs.commento.io/installation/self-hosting/embed-on-your-website/
      - COMMENTO_ORIGIN=https://comentarios.yourdomain.com #Tweak this as per your sub/domain
      - COMMENTO_PORT=8080
      - COMMENTO_POSTGRES=postgres://commento:commento@db:5432/commento?sslmode=disable
      - COMMENTO_GZIP_STATIC=true
      - COMMENTO_BIND_ADDRESS=0.0.0.0  # Changed to bind to all interfaces
      # Uncomment to prevent new owner registrations after first setup
      # - COMMENTO_FORBID_NEW_OWNERS=true
    expose:
      - "8080"  # Only expose to other containers, not to host
    depends_on:
      - db
    networks:
      - commento_network
      - cloudflared_tunnel

  db:
    image: postgres:13-alpine
    container_name: commento_db
    restart: unless-stopped
    environment:
      - POSTGRES_USER=commento
      - POSTGRES_PASSWORD=commento
      - POSTGRES_DB=commento
    volumes:
      - commento_data:/var/lib/postgresql/data
    networks:
      - commento_network

volumes:
  commento_data:

networks:
  commento_network:
    driver: bridge
  cloudflared_tunnel: #Tweak this as per your cloudflare tunnel network name!
    external: true
You will have to add the following public domain to your Cloudflare Zero Trust UI:

Adding Commento to Your Website
To add Commento to your website, include the following code where you want the comments to appear:
<div id="commento"></div>
<script defer src="https://yourdomain.com/js/commento.js"></script>
Maintenance
Updating Commento
To update to the latest version of Commento, run:
docker-compose pull commento
docker-compose up -d
Backups
Regularly back up your PostgreSQL database. You can use this command to create a backup:
docker exec -t commento_postgres pg_dumpall -c -U commento > commento_backup_$(date +%Y-%m-%d).sql
Troubleshooting
Check Logs
To check the logs for any issues:
docker-compose logs -f
Common Issues
- Connection refused errors: Ensure the database is running and the connection string is correct
- CSS/JS not loading: Check if
COMMENTO_ORIGINis set correctly - Database issues: Make sure the PostgreSQL container is running and accessible
Conclusion
Thats really it!
You’ve successfully set up a self-hosted Commento instance using Docker.
You now have a privacy-focused commenting system that respects your users’ data and gives you full control over your content.
Feel free to comment below, as I could not resist to add Commento to get your feedback on the guides :)
Just be good. No Spam.
For more advanced configurations and features, check out the official Commento documentation.
Need help with your self-hosting journey? Feel free to reach out in the comments below!