Many of us were using Google photos unlimited backup to keep our memories for free in the cloud.
But this has changed recently, so while looking for alternatives I found one that got my attention.

Photoview will create an interface that provides similar Google Photos use, but reading our photos from our local device hard disk, so we avoid to pay a monthly fee for hosting our photos on the cloud.
The Photoview Project
Google Photos is No Longer Free - Photoview is an alternative with more features that I use, like maps compatibility and it is FREE.
SelfHosting Photoview
Pre-Requisites!! Just Get Docker 🐋👇
Important step and quite recommended for any SelfHosting Project - Get Docker Installed
It will be one command, this one, if you are in Linux:
apt-get update && sudo apt-get upgrade && curl -fsSL https://get.docker.com -o get-docker.sh
sh get-docker.sh && docker version
And install also Docker-compose with:
apt install docker-compose -y
Photoview with Docker
The configuration file that we will use today to deploy Photoview:
version: "3"

services:
  db:
    image: linuxserver/mariadb
    restart: always
    environment:
      - MYSQL_DATABASE=photoview
      - MYSQL_USER=photoview
      - MYSQL_PASSWORD=photosecret
      - MYSQL_RANDOM_ROOT_PASSWORD=1
    volumes:
      - db_data:/var/lib/mysql

  photoview:
    image: viktorstrate/photoview:2
    restart: always
    ports:
      - "8080:80" #you can change the container port
    depends_on:
      - db

    environment:
      - PHOTOVIEW_DATABASE_DRIVER=mysql
      - PHOTOVIEW_MYSQL_URL=photoview:photosecret@tcp(db)/photoview
      - PHOTOVIEW_LISTEN_IP=photoview
      - PHOTOVIEW_LISTEN_PORT=80
      - PHOTOVIEW_MEDIA_CACHE=/app/cache

    volumes:
      - api_cache:/app/cache

      # Change This: to the directory where your photos are located on your server.
      # If the photos are located at `/home/user/photos`, then change this value
      # to the following: `/home/user/photos:/photos:ro`.
      # You can mount multiple paths, if your photos are spread across multiple directories.
      - /home/your/path/with/files/photos:/photos:ro #it respects your file system photo organization & remember to mention /photos/whatever_path in the initial setup

volumes:
  db_data:
  api_cache:
Providing that the previous steps are clear, we can jump to our terminal and use:
sudo nano docker-compose.yml
This will open a text editor, where we can paste the following configuration file:
To save, use CTRL+O, then CTRL+X to exit.
Then just deploy Photoview with:
sudo docker-compose up -d
Now PhotoView is ready at
localhost:8080
Photoview with CLI
If you prefer, you can do the photoview deployment with Docker CLI instead of docker-compose:
- Deploy MariaDB
docker run -d \
  --name db \
  -e MYSQL_DATABASE=photoview \
  -e MYSQL_USER=photoview \
  -e MYSQL_PASSWORD=photosecret \
  -e MYSQL_RANDOM_ROOT_PASSWORD=1 \
  -v db_data:/var/lib/mysql \
  linuxserver/mariadb
- Deploy Photoview and connect it to MariaDB
docker run -d \
  --name photoview \
  -p 8080:80 \
  --link db \
  -e PHOTOVIEW_DATABASE_DRIVER=mysql \
  -e PHOTOVIEW_MYSQL_URL=photoview:photosecret@tcp(db)/photoview \
  -e PHOTOVIEW_LISTEN_IP=photoview \
  -e PHOTOVIEW_LISTEN_PORT=80 \
  -e PHOTOVIEW_MEDIA_CACHE=/app/cache \
  -v api_cache:/app/cache \
  -v /home/your/path/with/files/photos:/photos:ro \
  viktorstrate/photoview:2
Photoview is Ready
You are ready to use Photoview!
The Photoview service will be running at 0.0.0.0:8080 or localhost:8080 if you use the configuration file as it is provided.
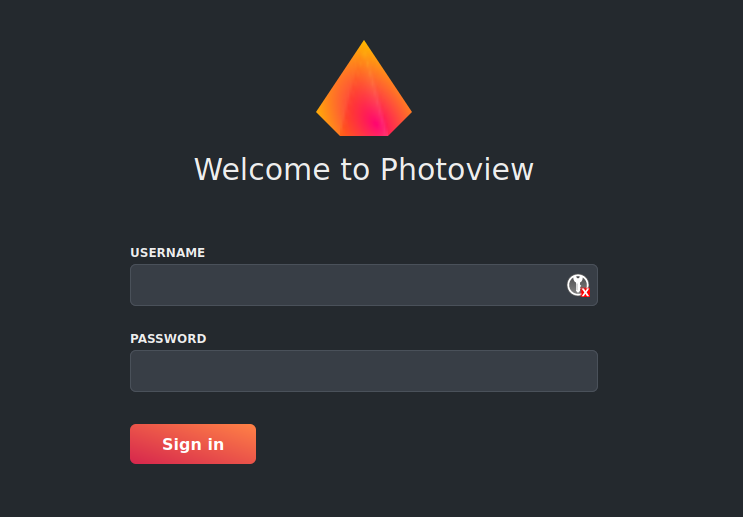
You will need to create your user and password (and set the photo path
/photos)
Go to settings, and scan the media.
If you have deployed it in one device at home, you can use it from any other connected at the same router, just use the internal IP of the device in which you made the deployment.
You can check that in Linux with:
hostname -I
FAQ
How to use Photoview with HTTPs
If you are interested in deploying a separated NGINX instance with Docker, I already created a guide for that here.
Free Alternatives to Google Photos
- Immich
- Lychee
- NextCloud - With Nextcloud Photos or with Nextcloud Apps like Memories
- PiGallery - No need for a Database and you can also visualize GPX’s!
- HomeGallery
- Syncthing + WebDav + Any of the previous tools
- Photoprism
PiGallery with Docker - a Self-Hosted Photo Gallery 👓👇
- The PiGallery’s Source Code at Github
- License: MIT ❤️
version: '3'
services:
  pigallery2:
    image: bpatrik/pigallery2:latest
    container_name: pigallery2
    environment:
      - NODE_ENV=production
    volumes:
      - "/home/Docker/pigallery/config:/app/data/config" # CHANGE ME
      - "/home/Docker/pigallery/tmp:/app/data/tmp" # CHANGE ME
      - "db-data:/app/data/db"
      - "/home/Docker/:/app/data/images:ro" # CHANGE ME, ':ro' mean read-only

    ports:
      - 8088:80
    restart: "no"

volumes:
  db-data:
You will have PiGallery ready at: localhost:8088
