ESPHome closes the gap between cheap ESP-based microcontrollers and a fully integrated smart home. Instead of writing Arduino code or flashing MicroPython, you describe your device in YAML — what sensors it has, what pins they use, what automations to run — and ESPHome compiles and flashes the firmware for you. The Docker dashboard makes it easy to manage a fleet of devices from one place and integrates naturally with Home Assistant.
Why ESPHome?
- YAML over code: Define sensors, switches, automations, and connectivity in a readable config file. No C++ required, though you can drop into custom code if you need to.
- Native Home Assistant integration: ESPHome devices announce themselves via the native API, giving you sub-second local control with no MQTT broker needed.
- OTA updates: Once a device is provisioned, you push firmware updates over Wi-Fi from the dashboard — no need to plug in a USB cable again.
ESPHome with Docker
The Docker image runs the ESPHome dashboard, which handles compilation, flashing (via USB on first install), and OTA updates. network_mode: host is recommended so the dashboard can discover and communicate with devices on your local network via mDNS.
docker --version
Docker Compose
# version: '3'
# services:
#   esphome:
#     image: esphome/esphome
#     container_name: esphome
#     volumes:
#       - /home/Docker/esphome_config:/config  # Maps the local esphome_config directory to the container's config directory
#       - /etc/localtime:/etc/localtime:ro  # Optional: for time synchronization
#     ports:
#       - "6052:6052"  # ESPHome API
#       - "6123:6123"  # ESPHome Dashboard
#     restart: unless-stopped
#     network_mode: host  # Optional: Use host networking for mDNS discovery


#https://esphome.io/guides/getting_started_command_line.html


version: '3'
services:
  esphome:
    container_name: esphome
    image: ghcr.io/esphome/esphome
    volumes:
      - /home/Docker/esphome_config:/config  # Maps the local esphome_config directory to the container's config directory
      - /etc/localtime:/etc/localtime:ro  # Optional: for time synchronization
    restart: always
    privileged: true
    network_mode: host
    environment:
      - USERNAME=test
      - PASSWORD=ChangeMe
Change USERNAME and PASSWORD before deploying — the dashboard is protected by basic auth. The privileged: true flag is needed to access USB serial ports for initial flashing. Update the config volume path to wherever you want to store your device YAML files.
docker compose up -d
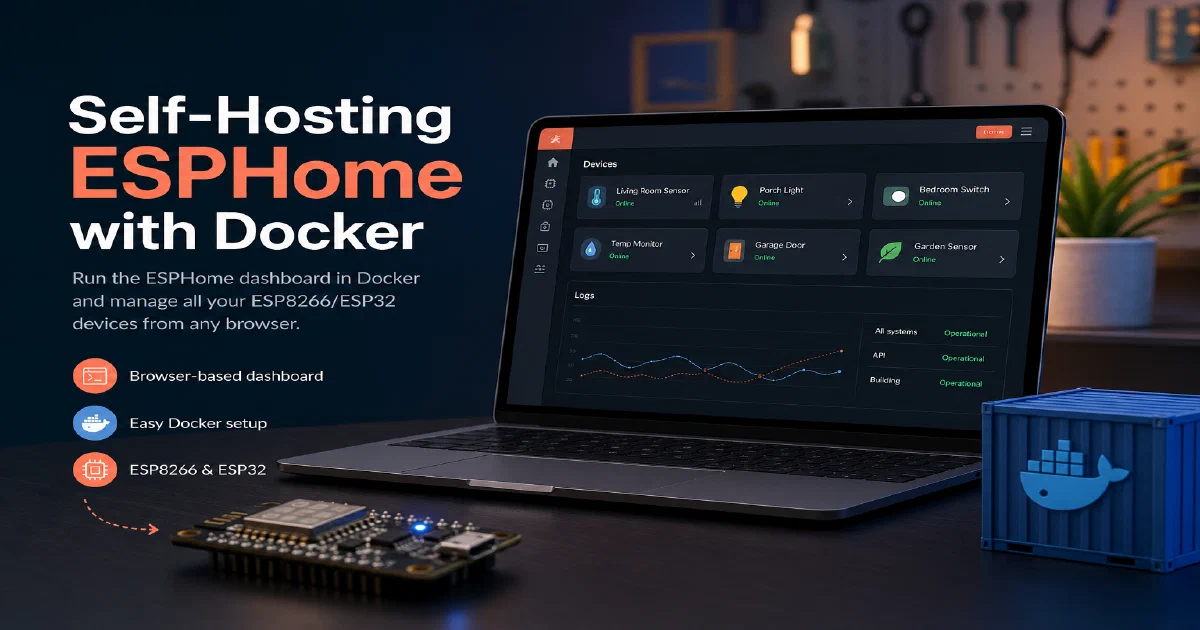
Accessing ESPHome
Because network_mode: host is set, ESPHome runs directly on your host’s network stack. Access the dashboard at:
http://localhost:6052
From there you can create new device configurations, edit existing ones, compile firmware, and trigger OTA updates.
Conclusion
ESPHome and Docker together give you a clean, browser-based workflow for managing ESP microcontrollers at any scale. If you are already running Home Assistant, adding ESPHome is a natural next step that dramatically expands what you can build. Pair it with EMQX when you need MQTT, eKuiper for stream processing at the edge, and the containers primer if Docker is new to you.
The ESPHome project
FAQ
Do I need Home Assistant to use ESPHome?
No — ESPHome devices can run standalone and expose values over MQTT, the web server, or REST. But the native API is the killer feature, and that needs Home Assistant on the other end. Most people end up running both.
Why privileged: true? Is that safe?
USB serial passthrough on Linux requires the container to access /dev/ttyUSB* and the relevant kernel modules. privileged: true is the simplest path. If you would rather not, replace it with explicit devices: mappings and cap_add: [SYS_RAWIO]. The dashboard is normally on a private LAN, so the trade-off is usually fine.
What ESP boards does ESPHome support?
esphome: block in your YAML. If you are buying new hardware, ESP32-C3 and S3 are the modern picks; ESP8266 still works fine for simple sensors.
How do OTA updates work?
After the first USB flash, the device joins your Wi-Fi and exposes an OTA endpoint. The dashboard pushes new firmware over the network — no cable needed. Set an ota: password in your YAML so neighbours can’t push their own firmware to your devices.
Can I write custom code if YAML isn’t enough?
Yes. The lambda: block lets you drop into C++ inline, and you can pull in third-party Arduino libraries via lib_deps: or write a full custom component if you need something the built-in components don’t cover.
Where should I store device YAML files?
Mount a host directory at /config (the ./config:/config line in compose). Putting that directory under git is a great habit — every device’s hardware definition becomes versioned and reviewable.
Comments