Why PrivateGPT?
PrivateGPT provides an API (a tool for computer programs) that has everything you need to create AI applications that understand context and keep things private.
It’s like a set of building blocks for AI. This API is designed to work just like the OpenAI API, but it has some extra features.
So, if you’re already using the OpenAI API in your software, you can switch to the PrivateGPT API without changing your code, and it won’t cost you any extra money.
You can use PrivateGPT with CPU only if you want
Forget about expensive GPU’s if you dont have one already 💯
The PrivateGPT Project
PrivateGPT allow us to chat with our documents locally and without an internet connection.
How to use PrivateGPT?
-
Setting Up PrivateGPT: Choose Your Path 🛠️
- Manual Setup 🔍:
- Detailed Documentation: Follow the official documentation to install all dependencies manually.
If you go with Manual Setup 👇
-
The documentation of PrivateGPT is great and they guide you to setup all dependencies .
-
You just need Python installed in your computer and then install the required packages.
-
This kind of projects normally have very specific set of packages dependencies (specific versions and so on), that is why it is recommended to use Python Package Management.
-
- Detailed Documentation: Follow the official documentation to install all dependencies manually.
- Manual Setup 🔍:
-
Docker-based Setup 🐳:
- Streamlined Process: Opt for a Docker-based solution to use PrivateGPT for a more straightforward setup process.
SelfHosting PrivateGPT
I have tried those with some other project and they worked for me 90% of the time, probably the other 10% was me doing something wrong.
To make sure that the steps are perfectly replicable for anyone, I bring you a guide with PrivateGPT & Docker to contain all the Dependencies (and make it work 100% of the times).
- To ensure that the steps are perfectly replicable for anyone, I’ve created a guide on using PrivateGPT with Docker to contain all dependencies and make it work flawlessly 100% of the time.
With this approach, you will need just one thing to setup PrivateGPT locally: get Docker Installed
PrivateGPT with Docker
- Get Docker: Ensure that Docker is installed on your machine.
Really, Just Get Docker 🐋
Install Docker on your system before proceeding:
- Linux: Official Docker Engine install guide
- Windows / Mac: Docker Desktop
Verify installation: docker --version && docker compose version
-
Choose Your Docker Image:
- Use a Pre-built Image: Download and run a pre-built Docker image suitable for your project.
- Build Your Own Image: Alternatively, you can build your own Docker image from a Dockerfile tailored to your specific requirements.
-
Configure NGINX for HTTPS: (Optional)
- If you require secure connections, set up NGINX as a reverse proxy to provide HTTPS by obtaining SSL/TLS certificates.
- This step ensures encrypted and secure data transmission.
Then, use the following Stack / Docker configuration file to deploy it:
Using PrivateGPT with Docker 🐳 - PreBuilt Image 👇
Before moving on - Remember to always check the source of the Docker Images you run. Consider building your own.
#version: '3'

services:
  ai-privategpt:
    image: fossengineer/privategpt  # Replace with your image name and tag
    container_name: privategpt
    ports:
      - "8001:8001"
    volumes:
      - ai-privategpt:/app
    command: /bin/bash -c "poetry run python scripts/setup && tail -f /dev/null" #make run

volumes:
  ai-privategpt:
That’s it, now get your favourite LLM model ready and start using it with the PrivateGPT UI at: localhost:8001
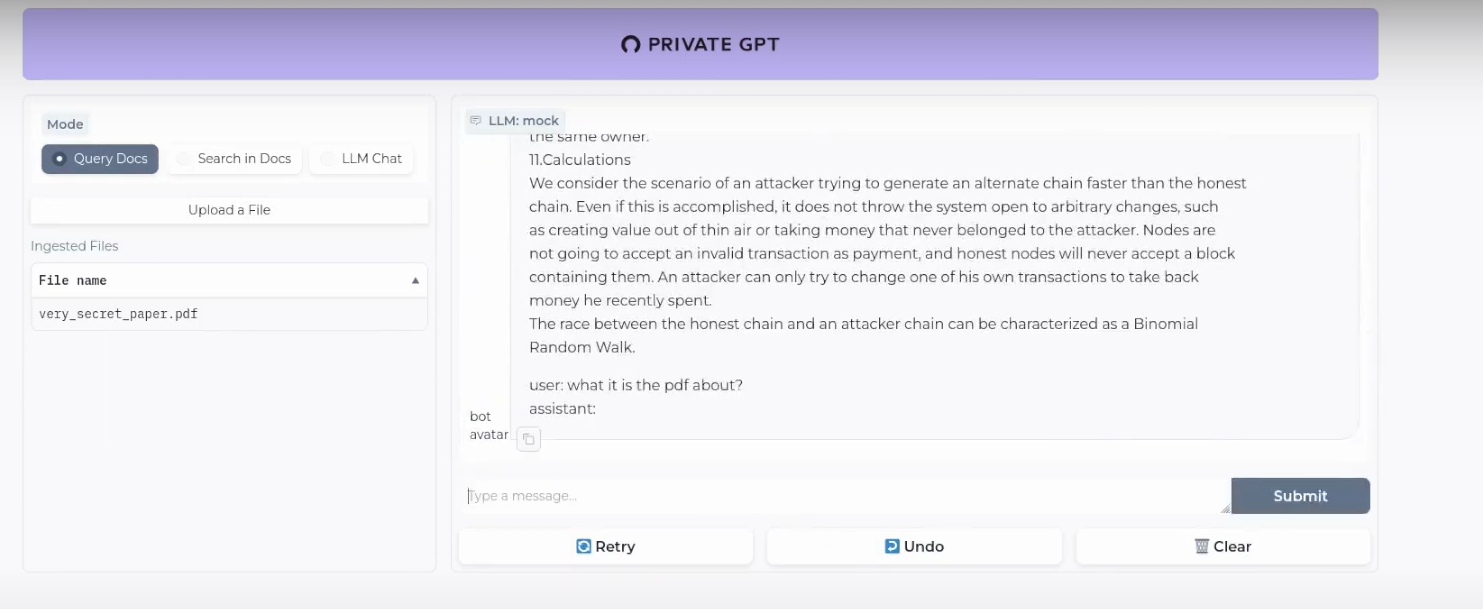
Remember that you can use CPU mode only if you dont have a GPU (It happens to me as well).
Just remember to use models compatible with llama.cpp, as the project suggests .
PrivateGPT API
PrivateGPT API is OpenAI API (ChatGPT) compatible, this means that you can use it with other projects that require such API to work.
🔥 Is OpenAI Compatibility Desirable? PrivateGPT Makes the Case! 🔥
-
Seamless Integration: PrivateGPT API is fully compatible with the OpenAI API (ChatGPT), ensuring seamless integration with existing projects.
-
Enhanced Flexibility: Developers can leverage the power of the OpenAI API while enjoying the added benefits of privacy, security, and control offered by PrivateGPT API.
-
Privacy and Security: With PrivateGPT API, sensitive data stays under your control, ensuring privacy and security.
-
Future-Proofing: PrivateGPT API remains compatible with future updates and advancements in the OpenAI ecosystem, ensuring long-term viability for your projects.
-
Community Collaboration: Compatibility fosters collaboration among developers, researchers, and enthusiasts, driving innovation in the NLP community.
How to Build your PrivateGPT Docker Image
The best way (and secure) to SelfHost PrivateGPT. Build your own Image.
You will need a Dockerfile.
🐳 What's a Dockerfile? Why It Matters in PrivateGPT Integration
-
Definition: A Dockerfile is a text file that contains instructions for building a Docker image. It specifies the environment and configuration needed to run an application within a Docker container.
-
Usefulness: Dockerfiles are invaluable in the context of PrivateGPT integration for several reasons:
-
Portability: Dockerfiles enable the creation of consistent environments across different platforms, ensuring that PrivateGPT integration remains seamless and reliable.
-
Reproducibility: By defining the exact dependencies and configuration required for PrivateGPT integration within a Dockerfile, developers can easily replicate the environment on different machines or servers.
-
Isolation: Docker containers provide isolation for PrivateGPT integration, ensuring that it operates independently of other software components and avoids potential conflicts.
-
But dont worry, here you have a sample Dockerfile to build your own PrivateGPT Docker Image.
Private GPT to Docker with This Dockerfile ✌️
# Use the specified Python base image
FROM python:3.11-slim

# Set the working directory in the container
WORKDIR /app

# Install necessary packages
RUN apt-get update && apt-get install -y \
    git \
    build-essential

# Clone the private repository
RUN git clone https://github.com/imartinez/privateGPT

WORKDIR /app/privateGPT

# Install poetry
RUN pip install poetry

# Copy the project files into the container
COPY . /app

#Adding openai pre v1 to avoid error
RUN sed -i '/\[tool\.poetry\.dependencies\]/a openai="1.1.0"' pyproject.toml

# Lock and install dependencies using poetry
RUN poetry lock
RUN poetry install --with ui,local

# Run setup script
#RUN poetry run python scripts/setup # this scripts download the models (the embedding and LLM models)

# Keep the container running
#CMD ["tail", "-f", "/dev/null"]
It’s not magic, just some automation to make PrivateGPT work without much effort.
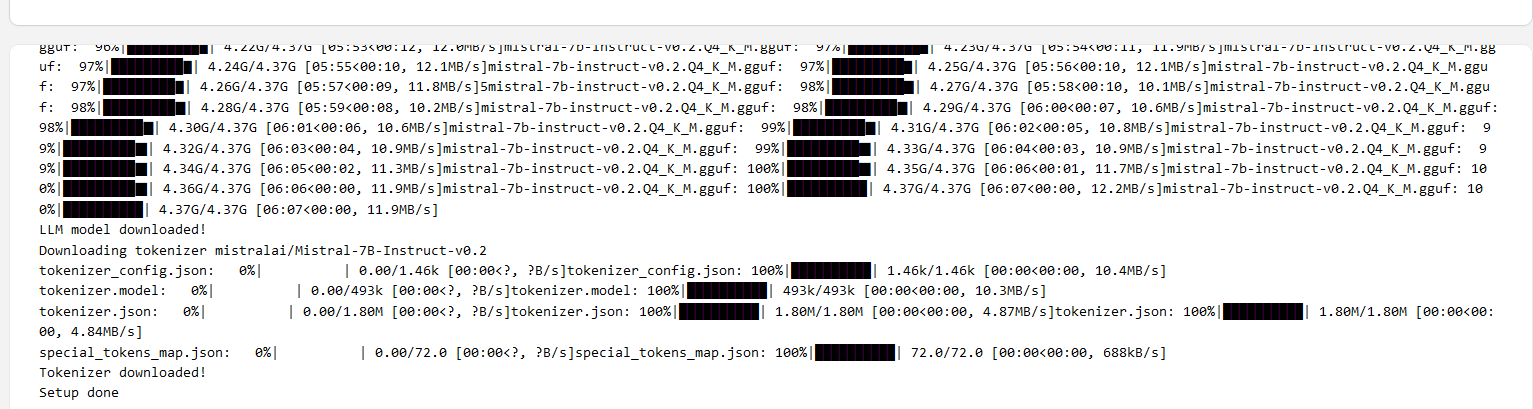
The setup script will download these 2 models by default:
- LLM: conversational model
- LLama 7B .
- Embedding: the model that converts our documents to a vector DB
Use GGUF format for the models and it will be fine (llama.cpp related)
And then build your Docker image to run PrivateGPT with:
docker build -t privategpt .
#podman build -t privategpt .

#docker tag privategpt docker.io/fossengineer/privategpt:v1 #example I used
#docker push docker.io/fossengineer/privategpt:v1

docker-compose up -d #to spin the container up with CLI
Using your PrivateGPT Docker Image
You will need Docker installed and use the Docker-Compose Stack below.
If you are not very familiar with Docker, don’t be scared and install Portainer to deploy the container with GUI .
Then, you just need this **Docker-Compose to deploy PrivateGPT**
version: '3'

services:
  ai-privategpt:
    image: privategpt  # Replace with your image name and tag
    container_name: privategpt2
    ports:
      - "8002:8001"
    volumes:
      - ai-privategpt:/app
    # environment:
    #   - SOME_ENV_VAR=value  # Set any environment variables if needed
    #command: tail -f /dev/null
    # environment:
    #   - PGPT_PROFILES=local
    command: /bin/bash -c "poetry run python scripts/setup && tail -f /dev/null" #make run

volumes:
  ai-privategpt:
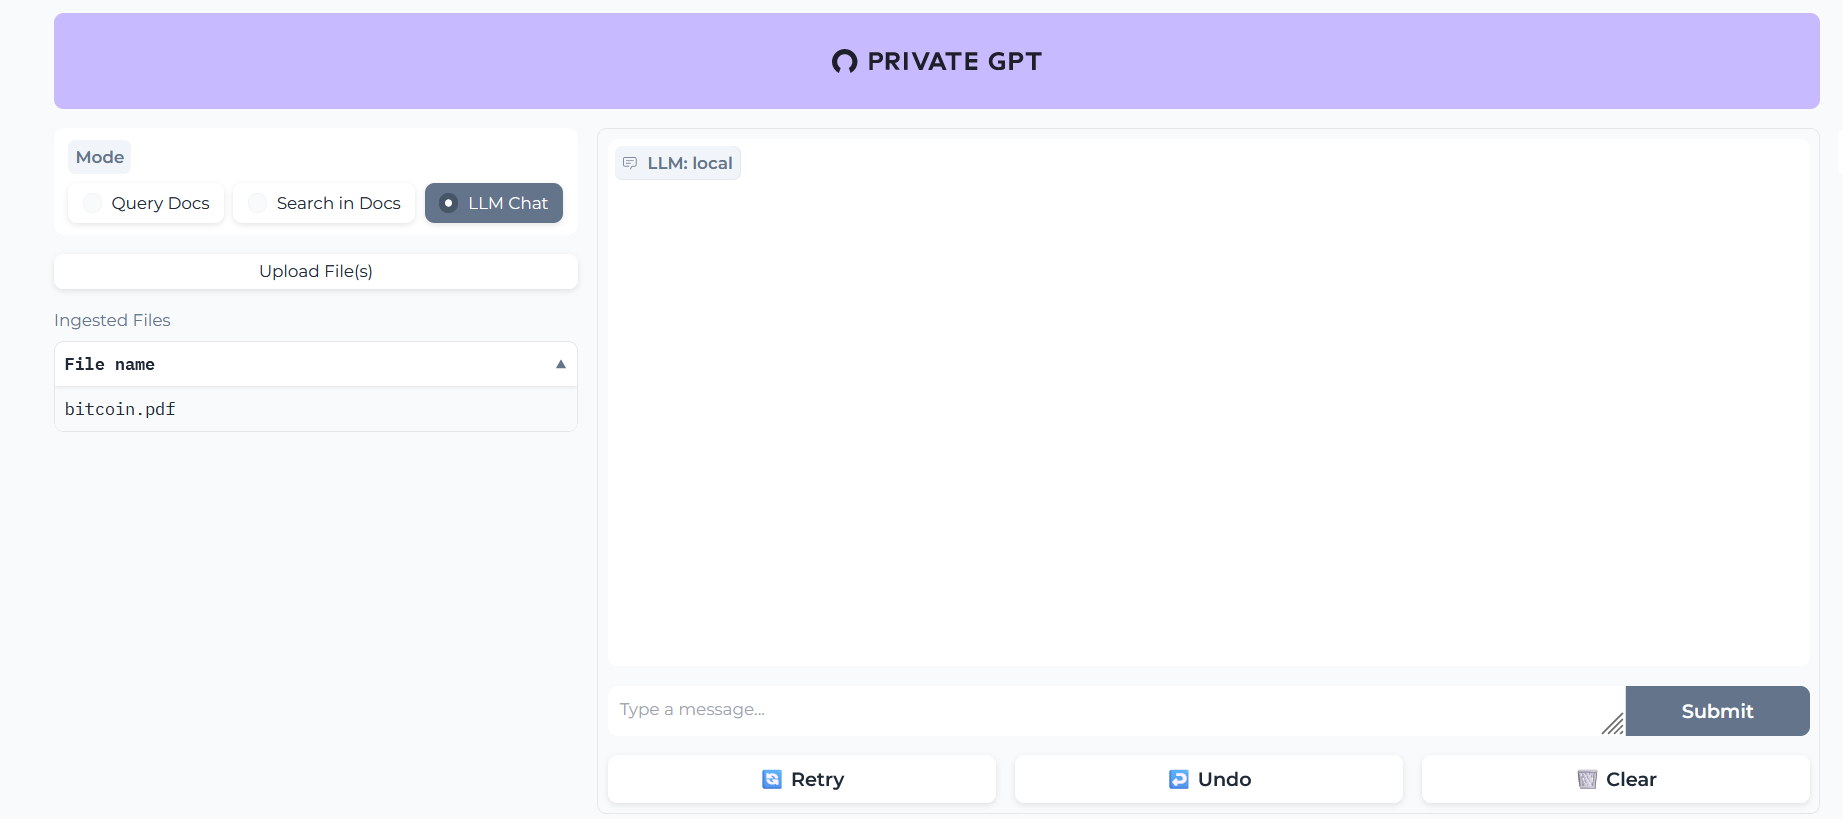
In this case, PrivateGPT UI would be waiting at: localhost:8002
When the server is started it will print a log Application startup complete.
Execute the comand make run in the container:
docker exec -it privategpt make run
Navigate to http://localhost:8002 to use the Gradio UI or to http://localhost:8002/docs (API section) to try the API using Swagger UI.
FAQ
Other F/OSS Alternatives to have Local LLMs
- The Text Generation Web UI Project, that you can also SelfHost with Docker.
What is happening inside PrivateGPT?
These are the guts of our PrivateGPT beast.
The Embedding Model will create the vectorDB records of our documents and then, the LLM will provide the replies for us.
- Embedding Model - BAAI/bge-small-en-v1.5
- Conversational Model (LLM) - TheBloke/Mistral 7B
- VectorDBs - PrivateGPT uses QDrant (F/OSS ✅)
- RAG Framework - PrivateGPT uses LLamaIndex (yeap, also F/OSS ✅)
You can check and tweak this default options with the settings.yaml file.
Python for PrivateGPT
What are Gradio Apps?
Gradio is an open-source Python library that simplifies the development of interactive machine learning (ML) and natural language processing (NLP) applications.
Tell me more about Gradio 👇
Gradio allows developers and data scientists to quickly create user interfaces for their ML models, enabling users to interact with models via web-based interfaces without the need for extensive front-end development.
- A great example of a Gradio App is the Text Generation Web UI Project for LLMs
You can also run Gradio-Lite (JS) - Serverless Gradio running in the browser. Similarly we can do with Transformers.JS
Python Dependencies 101
When we are sharing software, we need to make sure that our PCs have the same libraries/packages installed.
Same applies when we try some Python coding
For Python particuarly (as AI/ML has a lot of leverage with this language), these should sounds familiar 👇
-
One Option we already saw. It might be an overkill, but it always works - Im talking about using Docker Containers with Python. Containers and SelfHosting plays well and will always work 🤘.
-
Other ways: When looking new AI Projects, dont be scared if you find any of these as they are common ways to install dependencies in Python.
- Conda provides a cross-platform and language-agnostic (not only Python, but R, Julia, C/C#…) solution for managing software environments and dependencies, making it especially valuable for complex projects involving multiple programming languages and libraries.
- Poetry is a tool for dependency management and packaging in Python. It allows you to declare the libraries your project depends on and it will manage (install/update) them for you.
- Python’s built-in venv (virtual environment) module is a powerful tool for creating isolated Python environments specifically for Python projects.
- Pipenv is a command-line tool that aids in Python project development.
How does PrivateGPT compare to Ollama?
Ollama is a model runner — it serves an OpenAI-compatible API and you build the rest. PrivateGPT is a complete app: ingestion pipeline, vector store (Qdrant), RAG framework (LlamaIndex), and a Gradio UI. Want to chat with your own PDFs out of the box? PrivateGPT. Want to wire LLMs into your own application? Ollama (plus Dify AI or Flowise AI on top).
What model size makes sense on CPU?
7B with 4-bit quantization (Q4_K_M GGUF) is the sweet spot — fast enough to feel responsive on a modern laptop. Mistral 7B Instruct, Llama 3 8B, and Phi-3 Medium all run well. 13B works but is noticeably slower. Anything larger and you really want a GPU.
How do I add my own documents?
In the PrivateGPT UI, use the Ingest data tab — it accepts PDFs, Markdown, plain text, HTML, and a few more formats. Behind the scenes, the embedding model (BAAI/bge-small-en-v1.5 by default) converts each chunk to a vector and stores it in Qdrant. The chat interface then retrieves relevant chunks per question.
How do I expose PrivateGPT safely?
Behind Nginx Proxy Manager for HTTPS, or via Cloudflare Tunnel without opening router ports. The Gradio UI has no built-in auth — add it at the proxy layer. Combine with Uptime Kuma to keep an eye on availability.
Can I swap out the LLM and embedding model?
Yes — both are configured in settings.yaml. Drop a different GGUF model into the models folder and update the path. Same for the embedding model (anything compatible with the SentenceTransformers loader works). Re-ingestion is required if you change the embedding model.
Comments