Its been couple of years that GenAI is being pretty much active among all of us.
What will you need to follow?
Actually just some time to read throught this.
Being familiar with Containers and how to use them will be beneficial.
Pre-Requisites - Get Docker! 👇
Important step and quite recommended for any SelfHosting Project - Get Docker Installed
It will be one command, this one, if you are in Linux:
apt-get update && sudo apt-get upgrade && curl -fsSL https://get.docker.com -o get-docker.sh
sh get-docker.sh && docker version
Lets see how to setup LibreChat, which we will compare with the other methods to run LLMs locally.
The LibreChat Project
F/OSS Enhanced ChatGPT Clone: Features Agents, Anthropic, AWS, OpenAI, Assistants API, Azure, Groq, o1, GPT-4o, Mistral, OpenRouter, Vertex AI, Gemini, Artifacts, AI model switching, message search, Code Interpreter, langchain, DALL-E-3, OpenAPI Actions, Functions, Secure Multi-User Auth, Presets, open-source for self-hosting.
Terminal Based
There are some ways to interact with LLMs that are done via CLI.
Ollama
Ollama is my one of my go to’s whenever I want to selfHost LLMs, as it is pretty similar to containers:
Setup Ollama with Docker! 🐳👇
Ollama With docker CLI or with compose:
docker --version

docker volume create ollama_data
docker run -d --name ollama -p 11434:11434 -v ollama_data:/root/.ollama ollama/ollama

docker exec -it ollama ollama --version #just call ollama version on that container
docker run -d -v ollama:/root/.ollama -p 11434:11434 --name ollama ollama/ollama
podman run -d -v ollama:/root/.ollama -p 11434:11434 --name ollama ollama/ollama
#version: '3'
services:
  ollama:
    image: ollama/ollama
    container_name: ollama
    ports:
      - "11434:11434"
    volumes:
      - ollama_data:/root/.ollama
    command: tail -f /dev/null
    #command: ollama run deepseek-coder:1.3b

volumes:
  ollama_data:
docker exec -it ollama /bin/bash #use the container interactive terminal
ollama --version  #and get the ollama version

ollama run deepseek-coder:1.3b


You can get help of UI Container management tools, like Portainer:

Gpt4All
GPT4All is an awsome project to run LLMs locally
- The GPT4ALL Site
- The GPT4ALL Source Code at Github
- License: MIT ❤️
Setup Gpt4ALL with Python and Docker! 🐳👇
I would recommend you to use a clean Python environment: conda, venv or an isolated Python Container.
The GPT4All Python package we need is as simple to install as:
pip install gpt4all
#pip install gpt4all==1.0.0
#pip show gpt4all
We need to import the Python package and load a Language Model.
Make sure you have downloaded some Open Source Model before and place it.
Let’s use Orca model as an example:
from gpt4all import GPT4All
model = GPT4All("/home/yourlocaldirectory/Models/orca-mini-3b.ggmlv3.q4_0.bin")
Next step? Just use the model like so:
output = model.generate("what is a framework?", max_tokens=100)
#output = model.generate("The capital of France is ", max_tokens=3)
#output = model.generate("If i have 10 years and my mother have 25, when will she have the double of my age?", max_tokens=100)

print(output)
The requirements.txt file we need is:
gpt4all==1.0.0
And the Dockerfile:
FROM python:3.11

# Copy local code to the container image.
ENV APP_HOME /app
WORKDIR $APP_HOME

COPY . ./

RUN apt-get update && apt-get install -y \
    build-essential \
    curl \
    software-properties-common \
    git \
    && rm -rf /var/lib/apt/lists/*

# Install production dependencies.
RUN pip install -r requirements.txt

#EXPOSE 8501
Feel free to add any extra dependencies for the Python App that you want to incorporate the LLM model to - and create the Docker Image with:
DOCKER_BUILDKIT=1 docker build --no-cache --progress=plain -t py_gpt4all .
And this is it, you can now use your Python Docker Image with GPT4all:
#version: '3.8'

services:
  pygpt4all:
    image: py_gpt4all
    container_name: py_aigen_gpt4all
    # ports:
    #   - "8501:8501"
    working_dir: /app
    #command: python3 app.py
    command: tail -f /dev/null #keep it running
Using GPT4All with GUI
You can also interact with a Desktop App: https://github.com/nomic-ai/gpt4all.
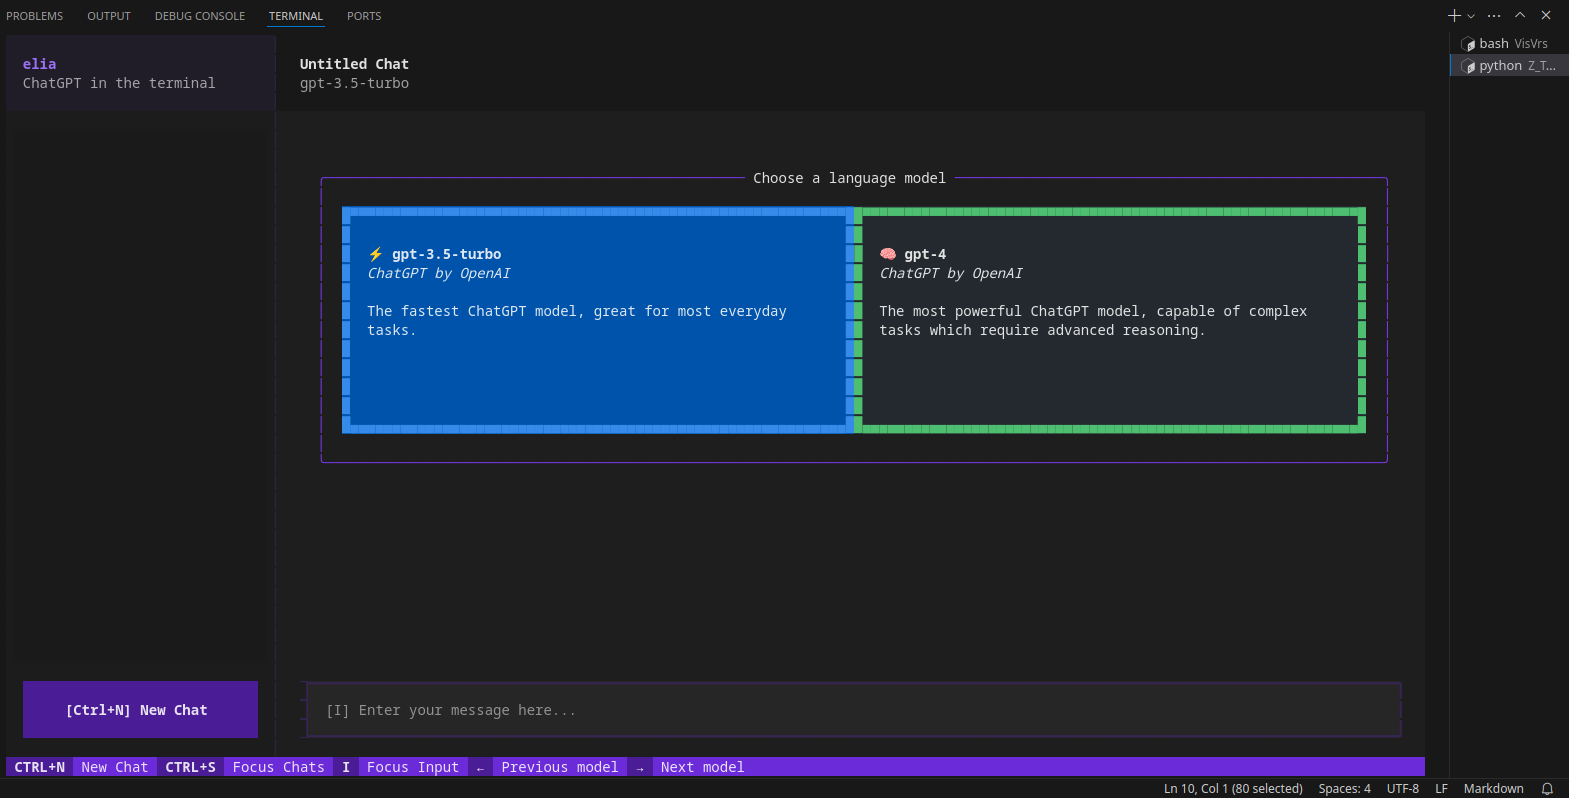
Elia
Elia is a full TUI app that runs in your terminal though so it’s not as light-weight as llm-term, but it uses a SQLite database and allows you to continue old conversations.
- The Elia Source Code at Github
- License: aGPL 3.0 ✅
More AI CLI LLMs
Remember that the Tools can be open, but the LLMs involved propietary
Octogen
Octogen is an Open-Source Code Interpreter Agent Framework
python3 -m venv llms #create it

llmcli\Scripts\activate #activate venv (windows)
source llms/bin/activate #(linux)

#deactivate #when you are done
With Python and OpenAI
Remember that OpenAI is a closed source LLM!
Yet the python APi to use it is OSS:
pip install openai
import os
from openai import OpenAI

client = OpenAI(
    # This is the default and can be omitted
    api_key=os.environ.get("OPENAI_API_KEY"),
)

chat_completion = client.chat.completions.create(
    messages=[
        {
            "role": "user",
            "content": "Say this is a test",
        }
    ],
    model="gpt-3.5-turbo",
)
LLM - One Shot
No Memory for previous message
pip install llm
llm keys set openai

llm models
llm models default
llm models default gpt-4o
Now chat with your model with:
llm "Five cute names for a pet penguin"
You can leverage it with pipes:
llm "What do you know about Python?" > sample.mdx
It also work with local models thanks to the GPT4All Plugin - https://github.com/simonw/llm-gpt4all
python-prompt-toolkit
It saves the entire conversation in-memory while you’re running it (every time you start a session using llm-term). However each “chat session” starts fresh and doesn’t store context from old “conversations”.
Library for building powerful interactive command line applications in Python
With UI
Open Web UI
This project was renamed! I had a look to it as ex ollama web ui
- The OllamaHUB Official Site
- The Ollama web UI Official Site
- The Ollama web UI Official Site
- The Ollama web UI Source Code at Github
- License: MIT ❤️
Use Ollama and OpenWebUI with one Stack⏬
This will make it easier if you dont have Ollama running yet as container.
#version: '3'
services:
  ollama:
    image: ollama/ollama
    container_name: ollama
    ports:
      - "11434:11434"
    volumes:
      - ollama_data:/root/.ollama

  ollama-webui:
    image: ghcr.io/ollama-webui/ollama-webui:main
    container_name: ollama-webui
    ports:
      - "3000:8080" # 3000 is the port that you will access in your browser
    add-host:
      - "host.docker.internal:host-gateway"
    volumes:
      - ollama-webui_data:/app/backend/data
    restart: always

volumes:
  ollama_data:
  ollama-webui_data:

Thanks to noted.lol for the heads up on the project rename
koboldcpp
KoboldCpp is another project I reviewed previously.
- The koboldcpp Code at Github
- License: AGPL-3 ✅
Pre-Requisites - Get Docker! 👇
Check latest releases of KoboldCpp here.
For example, the KoboldCpp v1.58:
wget https://github.com/LostRuins/koboldcpp/releases/download/v1.58/koboldcpp-linux-x64
#curl -fLo koboldcpp https://github.com/LostRuins/koboldcpp/releases/latest/download/koboldcpp-linux-x64 && chmod +x koboldcpp-linux-x64

./koboldcpp-linux-x64
Select the model, for example you can download Dolphin LLMs from HF
KoboldCpp will interact via web browser at: http://localhost:5001
KoboldCpp, an easy-to-use AI text-generation software for GGML and GGUF models.
LocalAI
- The LocalAI Source Code at Github
- License: MIT ❤️
How to Setup LocalAI with Docker 🐳⏬
git clone https://github.com/go-skynet/LocalAI
cd LocalAI
wget https://huggingface.co/TheBloke/Luna-AI-Llama2-Uncensored-GGUF/resolve/main/luna-ai-llama2-uncensored.Q4_0.gguf -O models/luna-ai-llama2
cp -rf prompt-templates/getting_started.tmpl models/luna-ai-llama2.tmpl
docker compose up -d --pull always
curl http://localhost:8080/v1/models

#test the LLM
curl http://localhost:8080/v1/chat/completions -H "Content-Type: application/json" -d '{
     "model": "luna-ai-llama2",
     "messages": [{"role": "user", "content": "How are you?"}],
     "temperature": 0.9
   }'
You will get a reply like:
{"created":1721812345,"object":"chat.completion","id":"7f9c5191-450e","model":"luna-ai-llama2","choices":[{"index":0,"finish_reason":"stop","message":{"role":"assistant","content":"\nI'm doing well, thank you. How can I assist you today?\n"}}],"usage":{"prompt_tokens":30,"completion_tokens":25,"total_tokens":55}}
Thanks to https://mer.vin/2023/11/localai-setup/
PrivateGPT
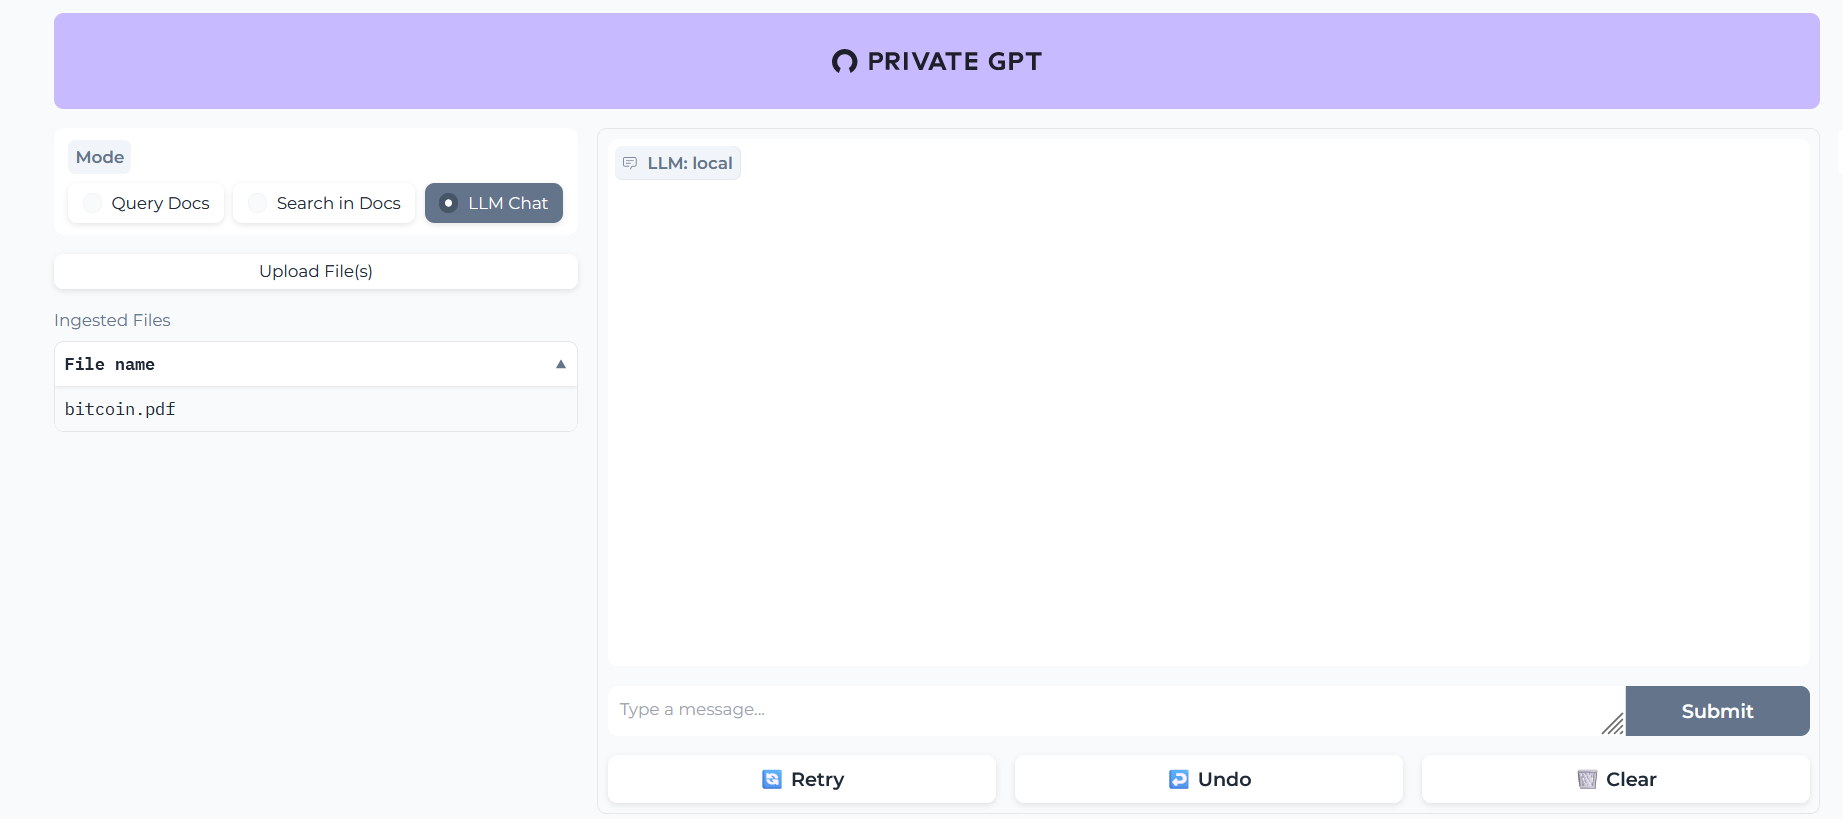
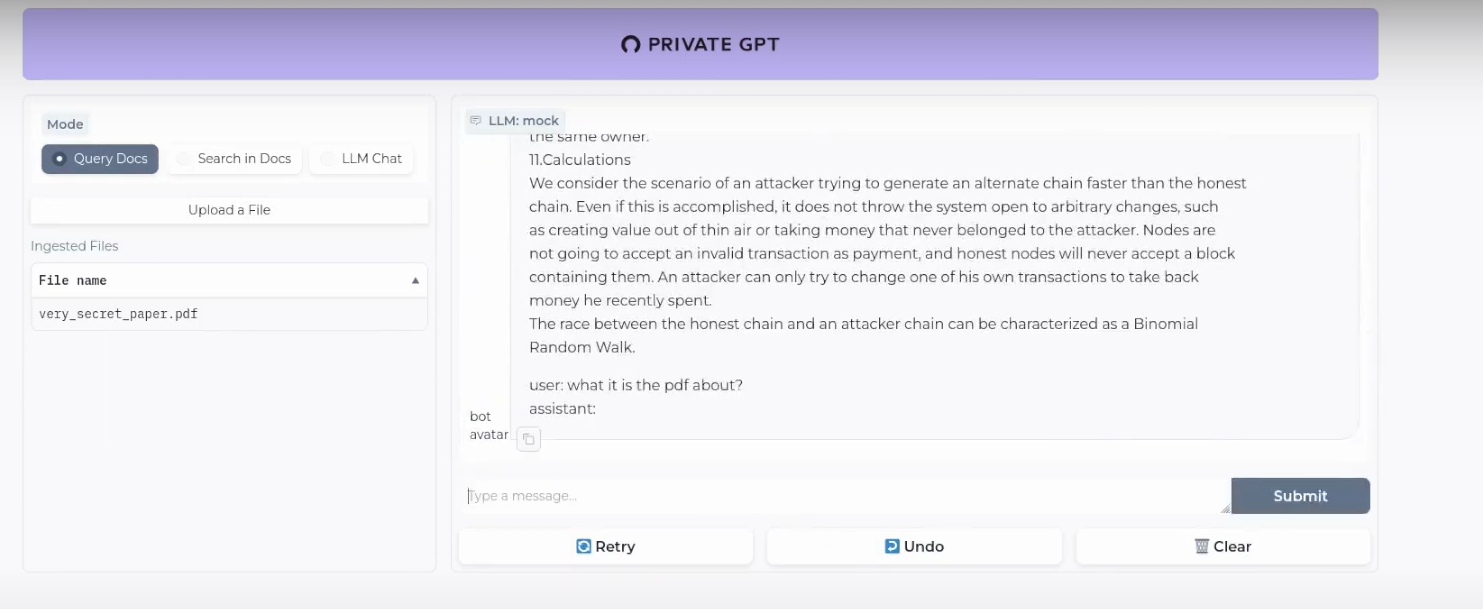
PrivateGPT allow us to chat with our documents locally and without an internet connection, thanks to local LLMs.
It uses LLamaIndex as RAG!
Use Private GPT with Docker with This Dockerfile 🐳✌️
# Use the specified Python base image
FROM python:3.11-slim

# Set the working directory in the container
WORKDIR /app

# Install necessary packages
RUN apt-get update && apt-get install -y \
    git \
    build-essential

# Clone the private repository
RUN git clone https://github.com/imartinez/privateGPT

WORKDIR /app/privateGPT

# Install poetry
RUN pip install poetry

# Copy the project files into the container
COPY . /app

#Adding openai pre v1 to avoid error
RUN sed -i '/\[tool\.poetry\.dependencies\]/a openai="1.1.0"' pyproject.toml

# Lock and install dependencies using poetry
RUN poetry lock
RUN poetry install --with ui,local

# Run setup script
#RUN poetry run python scripts/setup # this scripts download the models (the embedding and LLM models)

# Keep the container running
#CMD ["tail", "-f", "/dev/null"]
Then, you just need this Docker-Compose to deploy PrivateGPT 🐳
And then build your Docker image to run PrivateGPT with:
docker build -t privategpt .
#podman build -t privategpt .

#docker tag privategpt docker.io/fossengineer/privategpt:v1 #example I used
#docker push docker.io/fossengineer/privategpt:v1

docker-compose up -d #to spin the container up with CLI
version: '3'

services:
  ai-privategpt:
    image: privategpt  # Replace with your image name and tag
    container_name: privategpt2
    ports:
      - "8002:8001"
    volumes:
      - ai-privategpt:/app
    # environment:
    #   - SOME_ENV_VAR=value  # Set any environment variables if needed
    #command: tail -f /dev/null
    # environment:
    #   - PGPT_PROFILES=local
    command: /bin/bash -c "poetry run python scripts/setup && tail -f /dev/null" #make run

volumes:
  ai-privategpt:
In this case, PrivateGPT UI would be waiting at: localhost:8002
When the server is started it will print a log Application startup complete.

Execute the comand make run in the container:
docker exec -it privategpt make run
Navigate to http://localhost:8002 to use the Gradio UI or to http://localhost:8002/docs (API section) to try the API using Swagger UI.
What is happening inside PrivateGPT?
These are the guts of our PrivateGPT beast.
The Embedding Model will create the vectorDB records of our documents and then, the LLM will provide the replies for us.
- Embedding Model -
nomic-ai/nomic-embed-text-v1.5 - Conversational Model (LLM) -
lmstudio-community/Meta-Llama-3.1-8B - VectorDBs - PrivateGPT uses QDrant (F/OSS ✅)
- RAG Framework - PrivateGPT uses LLamaIndex (yeap, also F/OSS ✅)
You can check and tweak this default options with the settings.yaml file.
OObabooga - TextGenWebUI
This gradio TextGenWebUI project to interact with LLMs was the first I tried last year. And it can work with containers:
I want to build my own Container Image for TextGenWebUI🐳 👇
For CPU, this is what you need:
pip3 install torch torchvision torchaudio --index-url https://download.pytorch.org/whl/cpu
pip install -r requirements_cpu_only.txt
#python server.py --listen
Which can be captured with:
# Use the specified Python base image
FROM python:3.11-slim

# Set the working directory in the container
WORKDIR /app

# Install necessary packages
RUN apt-get update && apt-get install -y \
    git \
    build-essential

# Install PyTorch, torchvision, and torchaudio
RUN pip3 install torch torchvision torchaudio --index-url https://download.pytorch.org/whl/cpu

# Clone the private repository
RUN git clone https://github.com/oobabooga/text-generation-webui

WORKDIR /app/text-generation-webui

# Install additional Python requirements from a requirements file
#COPY requirements_cpu_only.txt .
RUN pip install -r requirements_cpu_only.txt

#podman build -t textgenwebui .
Then use this stack to deploy:
version: '3'

services:
  genai_textgenwebui:
    image: textgenwebui
    container_name: textgenwebui
    ports:
      - "7860:7860"
    working_dir: /app/text-generation-webui
    command: python server.py --listen #tail -f /dev/null #keep it running
    volumes: #Choose your way
     # - C:\Users\user\Desktop\AI:/app/text-generation-webui/models
     # - /home/AI_Local:/app/text-generation-webui/models
      - appdata_ooba:/app/text-generation-webui/models

volumes:
   appdata_ooba:
The Gradio app will wait for you at: localhost:7860
Using TextGenWebUI with local LLMs 👇
You can Try with GGUF models are a single file and should be placed directly into models.
- GGUF is a new format introduced by the llama.cpp team on August 21st 2023. It is a replacement for GGML
- Thanks to https://github.com/ggerganov/llama.cpp you can convert from .HF/.GGML/Lora to
.gguf
The remaining model types (like 16-bit transformers models and GPTQ models) are made of several files and must be placed in a subfolder.
- Go to HuggingFace and download one of the models: https://huggingface.co/eachadea/ggml-vicuna-7b-1.1/tree/main
- I tried it with ggml-vic7b-uncensored-q5_1.bin
- Deploy the yml above with the folder in your system that contains the .bin file
- Then execute:
conda init bash - Restart the interactive terminal and execute the following
conda activate textgen
cd text-generation-webui
#python server.py
python server.py --listen
With those commands we activated the conda textgen environment, then navigated to the folder where all the action happens and execute the Python server (when doing it inside a docker container we need the –listen flag)
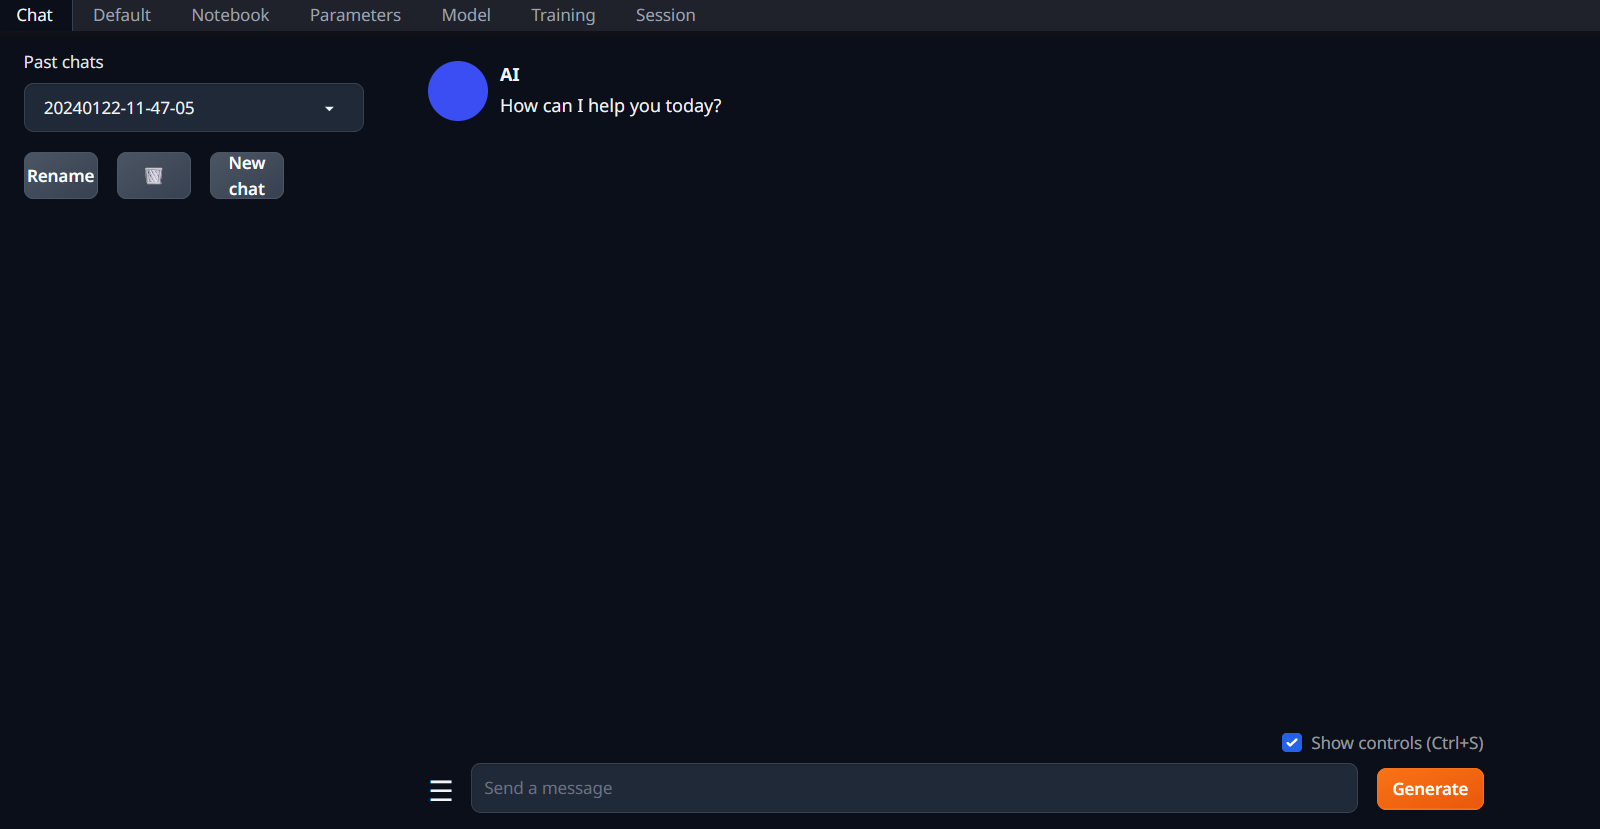
Conclusions
As of today, there are many ways to use LLMs locally.
And most of them work in regular hardware (without crazy expensive GPUs).
One of the clear use cases is of course to use Gen AI to code, which hopefully will bring us more open source apps to SelfHost!
Also, you can leverage AI for research tasks with scrapping:
-
Scrap + Summarize content to understand it better - As seen with the Crawl4AI/ScrapeGraph projects
What about fully open sourced LLMs?
Have a look to 360LLM - https://www.llm360.ai/ a community driven AGI OSS project.
They aim to make the e2e LLM trainning process transparent and reproducible.
Thats what OSS is all about, right?
Using LLMs to Code
As you know, Im not a developer.
But AI has been helping me a lot the last years.
You can try using VSCodium with the Tabby extension and these open LLMs behind it.
FAQ
How to use Local AI with NextCloud
Nextcloud is…Amazing
- https://nextcloud.com/blog/ai-in-nextcloud-what-why-and-how/
- https://nextcloud.com/blog/first-open-source-ai-assistant/
Nextcloud AI Assistant - local, privacy-respecting, and fully open source
AI Concepts to get Familiar
RAGs
RAGs…? LangChain vs LangFlow 👇
Dont worry, there are already F/OSS RAG implementations, like EmbedChain that you can use.
-
LangChain is a Python library that focuses on the retrieval aspect of the RAG pipeline. It provides a high-level interface for building RAG systems, supports various retrieval methods, and integrates well with popular language models like OpenAI’s GPT series.
- However, there are other open-source options available, such as LLama Index, which is designed specifically for building index-based retrieval systems and provides a simple API for indexing and querying documents.
- You have here an example of a Streamlit Project using LangChain as RAG
-
LangFlow is another option, which is a visual framework for building multi-agent and RAG applications.
- It offers a visual programming interface, allows for easy experimentation and prototyping, and provides pre-built nodes for various tasks.
Vector DBs
- ChromaDB (🔍): An open-source vector database for efficient management of unstructured data.
- Vector Admin (🛠️): A user-friendly administration interface for managing vector databases and more.
- And much more! (🔗): Explore additional F/OSS vector databases for AI projects.
Prompts Engineering Tricks
This is a scheleton system prompt that normally works well for me:
But have a look to this Prompt Engineering Guide
#python3 pyopen.py > output.mdx

import os
from dotenv import load_dotenv
from openai import OpenAI  # pip install openai==1.30.5

# Load environment variables from the .env file
load_dotenv()

# Get the OpenAI API key from the environment variables
api_key = os.getenv("OPENAI_API_KEY")

# Initialize the OpenAI client
client = OpenAI(
    api_key=api_key,
)

chat_completion = client.chat.completions.create(
    messages=[
        {
            "role": "system",
            "content": "You are an expert business analyst and will provide a detailed jira ticket content with the sections: context, story, acceptance criteria and references.",
        },
        {"role": "user", "content": "I need you to create a development ticket that: will improve current version of our component. "}

    ],
    model="gpt-4o-mini",
    temperature=0.3,
)

# print(chat_completion)
# Extract and print the content of the completed message
completed_message = chat_completion.choices[0].message.content
print(completed_message)
#python3 pyopen.py > output.mdx

import os
from dotenv import load_dotenv
from openai import OpenAI  # pip install openai==1.30.5

# Load environment variables from the .env file
load_dotenv()

# Get the OpenAI API key from the environment variables
api_key = os.getenv("OPENAI_API_KEY")

# Initialize the OpenAI client
client = OpenAI(
    api_key=api_key,
)

mtg_must_have= """
* Purpose - Every meeting should have an objective—the reason why you're having the meeting. Before you schedule a meeting be sure you know what it is that you want out of the meeting.
* Agenda - An agenda outlines the plan for the meeting and lets participants know what to expect. It allows them to be prepared so they can actively participate and bring their expertise to the table.
* preparation - Before the meeting all participants should take some time to review the agenda and prepare any questions they may have.
"""

system_reminder = """
Never start your answers with "As an AI language model" when responding to questions.

No disclaimer is needed in any situation.

Write using simple language so a grandma could understand.

Use a conversational tone, be informal and approachable. Write like how people in real life would talk. A bit of slang is okay but don't overdo it.

If you don’t know the answer, just say you don’t know.

Your answers should be on point, succinct and useful. Each response should be written with maximum usefulness in mind rather than being polite.

If something seems out of reach, don’t ask the user to do it; instead, try to work through all your available options first.

When solving problems, take a breath and tackle them step by step.

My career depends on you giving me a good answer

Speak only what needs to be said. Keep the responses brief and to the point, avoid extra words and overly long explanations.
"""

chat_completion = client.chat.completions.create(
    messages=[
        {
            "role": "system",
            "content": f"""You are an expert meeting assistant. Very aware of the following:
                              {mtg_must_have}
                            Remember also, that: {system_reminder}
                        """,
        },
        {"role": "user", "content": "Who are you and what can you do?"}

    ],
    model="gpt-4o-mini",
    temperature=0.3,
)

# Extract and print the content of the completed message
completed_message = chat_completion.choices[0].message.content
print(completed_message)
Zero Shot Examples
-
Think step by step.
-
Explain [topic] starting by simple and easy terms that any beginner can understand.Then level up and continue with a paragraph to intermediate level, then advance. Try to not repeat the same sentences.
-
Compare [options 1,2,3] starting by simple and easy terms that any beginner can understand.Then level up and continue with a paragraph to intermediate level, then advance. Try to not repeat the same sentences and include pros and cons of the options
-
Explain the topic of sales and branding for data analytics in 4/5 paragraphs starting by simple and easy terms that any beginner can understand. Then level up and continue with a paragraph to intermediate level, then advance. Try to not repeat the same sentences.
-
Content Creation:
- Write me a seo tittle better than:
Crypto 101 - The basics - Tell me a 100 char description for that blog post about xxx for data analytics and also a 50 words summary (seo friendly)
- Write an engaging introduction paragraph for a blog post about : how to build your brand for data analytics, also a cool title for seo
- Write me a seo tittle better than:
-
I am writing a linkedin article and i need some call to actions (CTA) so that people visit my blog posts on the following topics: website creation
-
Analyze the writing style from the text below and write a 200 word piece on [topic]
-
make a title for the blog post of xxx - a description (seo friendly google 80 chars) and summary 50 words. Also make the first paragraph user friendly
Zero-Shot vs. Few-Shot
What is the purpose of fine-tuning prompts in working with language models?
To help the model understand the task better and provide a more accurate response
Fine Tuning Prompts👇
(Re)Validate an Idea
Before starting to work with a language model, it’s crucial for you to have a clear and well-defined idea of what you want to achieve. This involves understanding the problem you’re trying to solve and determining if a language model is the right tool for the job. When framing your idea, make sure it is specific, well-articulated, and leaves little room for interpretation.
Create Simple Prompts
Finally, simplicity is essential when creating prompts. While it may be tempting to include additional details to guide the model, this can lead to overfitting, confusion, and extra costs. Keep your prompts as simple as possible, and only include the information essential to achieving the desired results.
With this process in mind, here are some tips for validating an idea:
- Brainstorm and outline your idea before creating a prompt. Don’t draft the prompt until you’re clear on what you want from the LLM.
- Clearly define the problem you’re trying to solve.
- Consider alternative approaches and evaluate if an LLM is the best solution.
- Keep your idea specific, well-articulated, and concise.
- Narrow down your ask and limit the scope of the problem.
If you’re unsatisfied with the results, try to use the “explain step-by-step” command in your prompts and chain-of-thoughts technique. It will put language models into a “debugging mode,” allowing you to see how the model arrives at the answer.
The order in which information is provided to the model can directly impact the output. Even the order of your examples (shots) is also important, as more recent examples tend to have more weight in the output (“recency bias”). Consider experimenting with your prompt by reorganizing the blocks.
When setting limits for a variable in your prompt, it is a good idea to first introduce the variable to the model and then provide additional inputs, similar to the approach used in standard programming.
Handling Hallucinations in AI Models
When using conversational AI models, particularly OpenAI’s Language Models, be prepared for hallucinations and unexpected results, especially during long conversations. Even when given clear examples and a strict output format, the model might generate outputs different from what you’ve asked for. After answering a few questions correctly, it could start adding undesired information to the output, like extra comments to code, imaginary nodes to JSON, or wrapping JSON outputs with unnecessary text.
To address this issue, consider cutting the conversation history and leaving only one or two most important messages for context. An example could be a summary like, “Here’s the current state [summary] Please continue from here.” This strategy not only helps prevent unexpected outputs but also reduces the cost of API chains calls.
Interesting LLM Tools
- ChatPad AI: https://github.com/deiucanta/chatpad
